Showing posts with label home projects. Show all posts

Sunday, March 3, 2013

Bookshelf facelift on the cheap

My in-laws handed down to us a lovely, big book shelf a few years ago when we moved into our house. It is old and sturdy and super heavy and matches our garage sale desk pretty perfectly. I recently reorganized and rearranged our office-heaving and shoving an enormous antique piano, equally enormous desk, and the bookshelf all around the room until I was satisfied. Did I mention John was at work? It always happens that my greatest inspirational moments occur during the day when help (over 3 feet tall) is not available. And being the impatient, independent, type A girl that I am, I can usually figure out a way to muscle through the project alone. Johns never surprised anymore when he walks in the house to find something rearranged, repainted, or removed altogether. It kind of takes some of the fun away.

But anyways, after rearranging the office to a more pleasing layout, I took another look at our bookshelf and decided that it looked a little bit tired. Should I paint it? Stain it darker? Leave it alone? (ha, that's impossible at this point!) What to do? And then I decided to go with the cheapest, easiest option, and use scrapbook paper to create more visual interest along the back of the shelf. One trip to JoAnn's, 30 pieces of paper, craft glue, and $11 later, I was ready to begin.

It took a bit longer to finish than I thought, mostly because I picked a pattern that required being matched up exactly. It would be much easier to find a design that is continuous to avoid all of the extra cutting and matching. But the finished result is a nice, refreshing update for the old bookshelf that still has a lot of life left in it. They just don't make furniture like they used to. And for $11, its hard to beat the price!

 Bookshelf before...at least the bottom half of it. I dive into projects way too quickly to plan out a proper "before picture"

 All the supplies

 And the updated "after" bookshelf

So much more cheerful and lovely

Monday, March 26, 2012

Movin' On Up

We are officially out of guest bedrooms in our house, and it fills my heart knowing that in a few months all of the rooms will be occupied by our 3 sleeping babies. I never liked having a cold guest room with the vents closed and dust settling on the unused furniture. With 10 short weeks until the arrival of #3, I decided to get started on converting the spare room into Norah's big-girl space. She's not quite ready to be out of her crib just yet, but we're hoping to have her fully settled in a bed before baby comes. My lovely mother-in-law, who is a speed-painter, offered to come and help me paint and ended up doing most of the work while I tried to keep the kids out of her way. I was inspired for the walls by a Lowe's magazine article showing how to create your own tree-art canvas with painter's tape and spray paint. The original idea was just to make a 12" X 12" art piece for above the bed, but then that seemed a little boring and I decided to magnify the concept onto an entire wall. I was pretty apprehensive as I was pulling off the painter's tape at the end, but the tree wall turned out great and I love the way it ties into her tree bedding. I was working with a very limited budget for this room so I did a lot of re-purposing and repainting of items we already had around the house. I painted the lamp and nightstand, wrapped the shade with ribbon, updated the hardware on the dressers, dug out the yellow curtains from our cedar chest and spray painted the bird cage that I bought on clearance. The books ledges were an Ikea bargain and the wreath above the bed cost a total of $5 including the "N" and the flower, which was an old pair of Norah's pants I cut up. My biggest splurge was on the bedding, which I found at the Pottery Barn Outlet and was still a great price.

Norah likes to jump on her big bed and read books in there but that's about as far as we've gotten for now. And for now, having her contained in a 4-walled crib makes this pregnant mama's life a heck of a lot easier!


Wednesday, February 15, 2012

Mini-kitchen addition DIY

We have this little nook in our kitchen that has always perplexed me design-wise. In the 2 years we've lived in our house it has served as a place for the highchair, the dog's feeding area, the trash can, and a place to stick an extra seat when we have a lot of people over. But I've always wanted to make it a more useful area in the kitchen because wasted space really bugs me. A few months back I realized that it would be the perfect spot to build a small desk area to check emails, look up recipes, and catch the mail that usually ends up strewn across the island. After getting my favorite handyman on board to help with the actual building part of my vision, we started working on the logistics. I found a remnant sheet of our existing countertop pattern online and had it shipped (twice) from Washington, the first shipment arriving in a box of shattered fragments. We watched several Youtube videos on how to laminate a counter and it didn't look so bad. John built the base out of two stair-post newels cut down and some plywood and then we spent the majority of our time working on the laminating part and getting the pieces cut perfectly. The hardest part was building the back-splash section from scratch and cutting the tiny strips of laminate without crumbling them. John learned how to use a router, that we borrowed from a friend, and we had a late-night, romantic Valentine's eve of DIY-ing together and getting covered in sawdust. 

I love the way the desk turned out and am proud of John for the new carpentry skills he now has under his belt for the next time. Our nook went from a total waste of space to the perfect spot to sit and drink a cup of coffee while catching up on emails and still being able to see what the kids are doing in the playroom. 

                                                                           Space Before

                                                      John at work with his top-assistant

                                                                    The new desk area


Monday, January 2, 2012

Organized with a side of crazy

This post is mainly for my sisters, Kim and Sarah. They love to tease me about my mad love of all things neat and tidy. I blame my Grandpa Harry. He and I both see the world through color coordinated-clearly labeled in the correct drawer- lenses. Its just in my blood. Either you get it or you don't. So laugh away girls, this one's for you...

Over Christmas John had some time off work to relax, sleep-in, and cross a small project off the ole' honey-do list. I have been longing for a sink in the laundry room for some time now because I do quite a bit of stain management around here and have grown weary of lugging heavy buckets full of sloshing water between the bath and laundry room. There is always something soaking in Oxy-clean here. So John and my Grandpa Harry worked on the plumbing, drywalling, and counter-top installation together- enjoying 2 days of close quarters and jamming to the oldies station on Pandora.

And it turned out beautiful and is now oh so convenient to soak, rinse, wash, or even just get a quick drink should I become suddenly parched while folding.  I wish I would have taken a before picture to give you a better idea of the changes, but I didn't. So just imagine this room looking not nearly as pretty...and without a sink.

Is it really so weird that I sometimes like to shut myself in my laundry room to enjoy a few moments of peace and quiet? I think not.

So here are my tips for optimal organization of this very frequented, too often neglected space for you aspiring OCD'ers out there. 


Bright, cheerful colors just make washing dirty socks and crusty peanut-butter way more fun. And don't forget to use color-coded hangers for each member of the family. This makes putting clothes away in the right rooms a snap, even for your husband. 

Who says you can't have a decorative plant and and fancy hand-soap in there? I say Yes You Can! Because if it makes you smile on sheets day, then you're worth it.

Oh how I love wicker baskets. It doesn't matter what kind of crap you put in them, that crap is guaranteed to look fabulous. And for Heaven's sake, label them! You don't have to use these fancy tags, but I say its craft store money well-spent if you do.

Do I look like a millionaire? Please. Inexpensive cafe curtain rods double as excellent drying racks and only cost about $5 apiece. So don't shrink your favorite pair of jeans just because you don't have anywhere to hang them. That's just silly.

Is that wall-art you ask, in your laundry room? Why yes, if you consider an old spray-painted
frame turned stain-removal 101 chart art, then it is. Free and educational is always a good idea. 


And last but not least, don't settle for that unsightly cardboard box cluttering up your beautiful space. Are they paying you to advertise for them? Instead, put your detergent in a simple glass canister for a much more elegant look. And it couldn't be any more convenient when you're in a hurry. Which is probably always.

Are you inspired yet? I think I can already hear you powering up your label maker.

Saturday, October 8, 2011

The 1 hour book-rack

For several months I have been oogling this hanging book-rack from the Land of Nod....

as well as this one from Pottery Barn Kids....


I wanted something that was a mix of these two pieces to hang in Eli's room in order to keep me from losing my mind picking up 50 books off the floor every single morning  have an organized area where he could display his favorite children's books.

So I recruited my handy hubby (multiple times) until he agreed to head to Home Depot (by himself please!) to gather the supplies needed to create the masterpiece I was imagining. Not to mention, we would be saving a fortune making this project a DIY.

John pre-cut all the 2 X 4's and dowel rods at Home Depot to save time and I think even he was surprised by how quickly he was able to whip up the shelf once he got home. A few nails, a little wood glue and it was  ready for me to start painting.

I'm so happy with the way it turned out and that John has the skills to turn my visions into reality. And Eli is pretty excited to have a library of books at his disposal at nap and bedtime. As are we, because a quietly reading toddler, is much nicer than a jumping on his bed, kicking the walls instead of sleeping toddler.
Here is the finished product:


Monday, March 21, 2011

If You Give A Mouse A Cookie

Have you ever read this book? It used to be one of my favorites. I have vivid memories of sitting cross-legged on the floor at our Carousel Ct. house in front of the built-in oak bookshelves reading this book over and over to myself. Now there are lots of other versions about giving a pig a pancake, a moose a muffin, ect, but, like all things original... this one is the best.

Whenever I start a home project, I usually end up thinking about this book because I find myself being the mouse, who starts with one objective (getting a cookie), which leads to another and another and another and another until that poor little boy is exhausted by this mouse. Not to imply that John is the little boy, because this mouse is perfectly happy to tackle those projects all by herself (with the exception of a little heavy lifting here and there).

My latest project started with one objective, to purchase curtains for our office. This part was easy. I found these curtains at World Market, loved them, and proudly brought them home to hang them up.


Problem: the curtains were too short by 9 inches. Easy fix, I will just return them for the longer length. Negative. These curtains only come in one size. Which leads me to project #2: To lengthen the drapes. I went in search of an exact match of the color and lucked out with a $10 tablecloth from Target that matched perfectly. On to the sewing.

In less than an hour I had drapes that I loved that were also now the right length.

Now I am finished right? Not so much. As I stepped back to admire my lovely new drapes, I couldn't help but notice how they sort of clashed with the paint color in the office. I didn't realize it until the sun was in full-force shining in through the windows, but it was definitely not a very good match. But oh how I loved these drapes. There was really only one solution: To repaint the office. Onto project #3: Paint

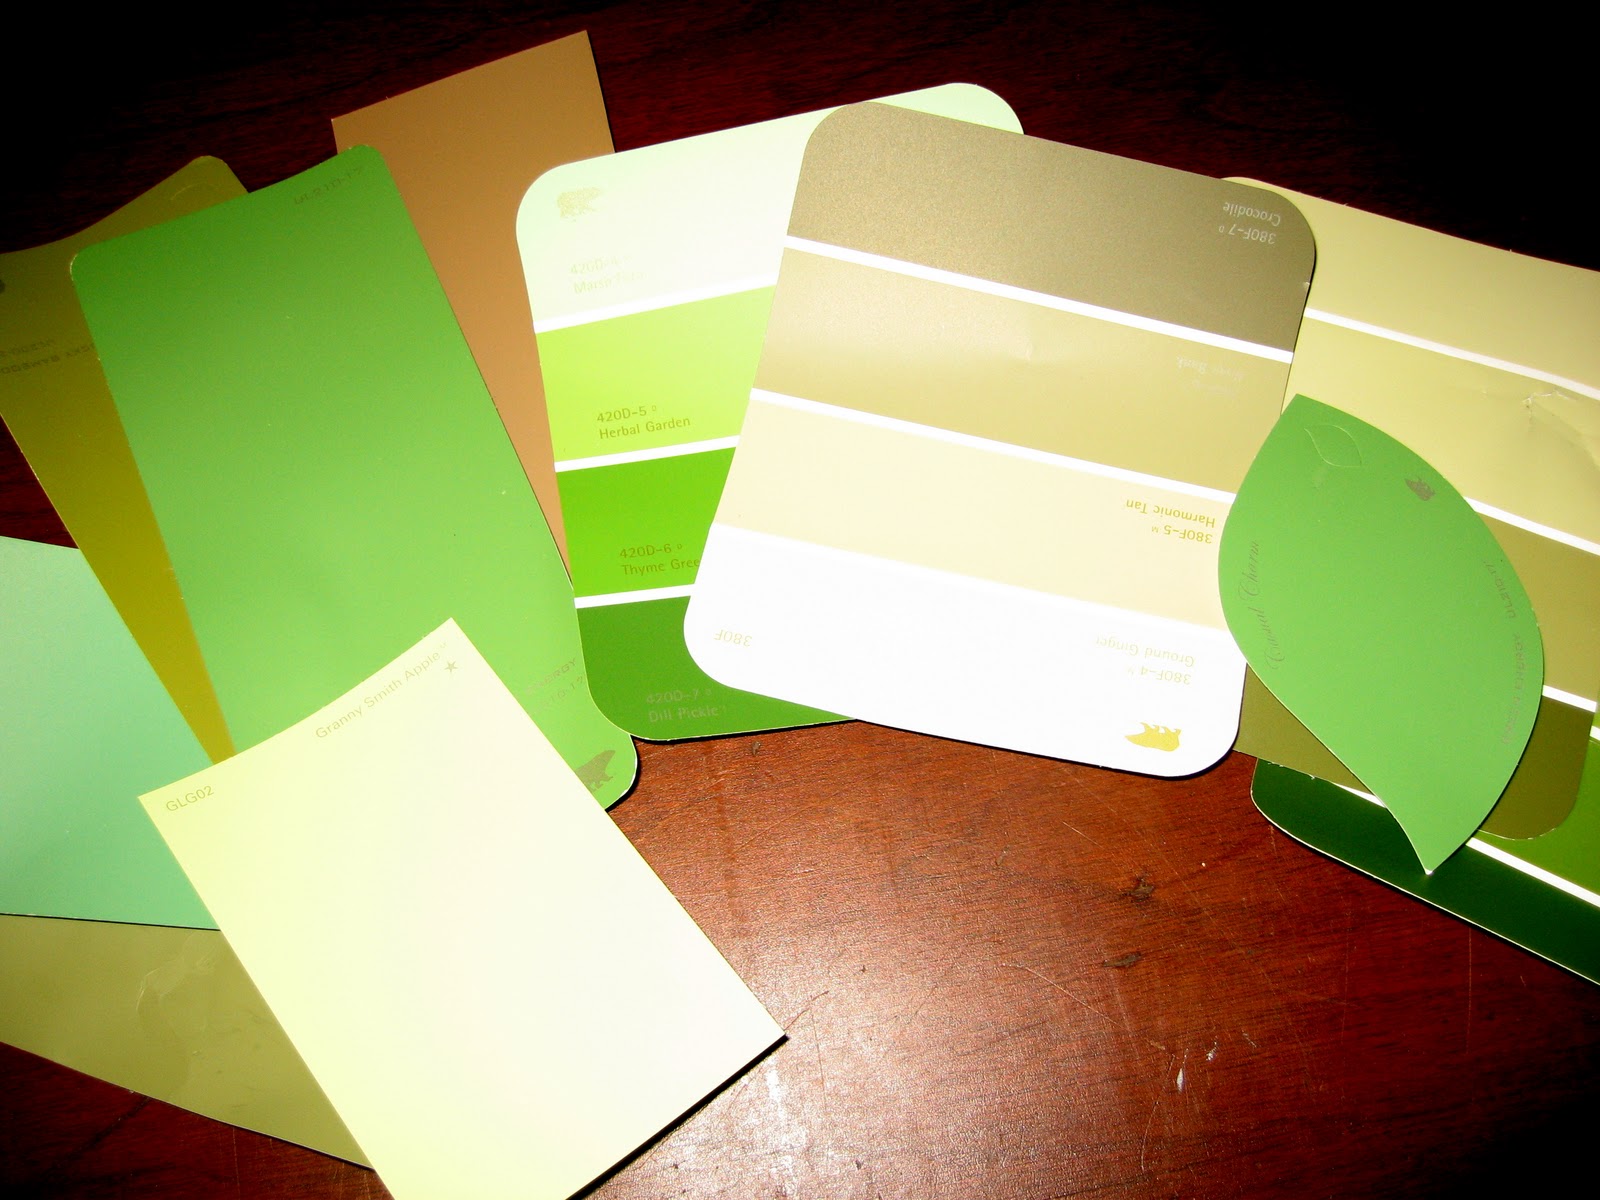
I loaded up the kids and headed to Home Depot to pick out some paint samples. I knew I wanted to keep within the green family, but needed something that was less blue-green and more green-green. When we got home I started holding up colors on the walls, on the curtains, and in the hallway just to make sure that everything looked well together. While standing in the hallway, I couldn't help but notice our make-shift coat rack that was overflowing with too many coats on 4 tiny hooks. And I had been wanting to tackle that project sooner or later. I quickly abandoned my painting for the moment and skipped to project #4: To make a larger coat rack for the entryway. I went in search of something in our house already that I could just add hooks to and thus save money with "freecycling". I found the perfect decorative piece hanging in the kitchen and it was just the right size that I needed. I again loaded up the kids and headed to Hobby Lobby to find some cheap hooks that were *Bonus* 50% off that day. Sold! I chose a few different kinds because I like things that look a bit eclectic. I hurried home to complete project #4, which turned out like this.


The only problem with using an existing piece of kitchen art for this project was that I now had 2 holes and a big empty space above our sliding glass door. It just looked way too bare like that. And you guessed it...on to project #5. While at Hobby Lobby I also happened to pick up a replacement decorative item that was also on clearance and just super cheap. I got out my ladder and went about hanging it up. (Not my strong suit, and there may be a few extra holes hiding behind that new picture, maybe.) Now that once bare spot looks like this.

The problem with switching up wall decor is that you're usually left with a few holes that aren't covered up anymore from that old item. Onto project # 6: Patching and repainting those spots. 


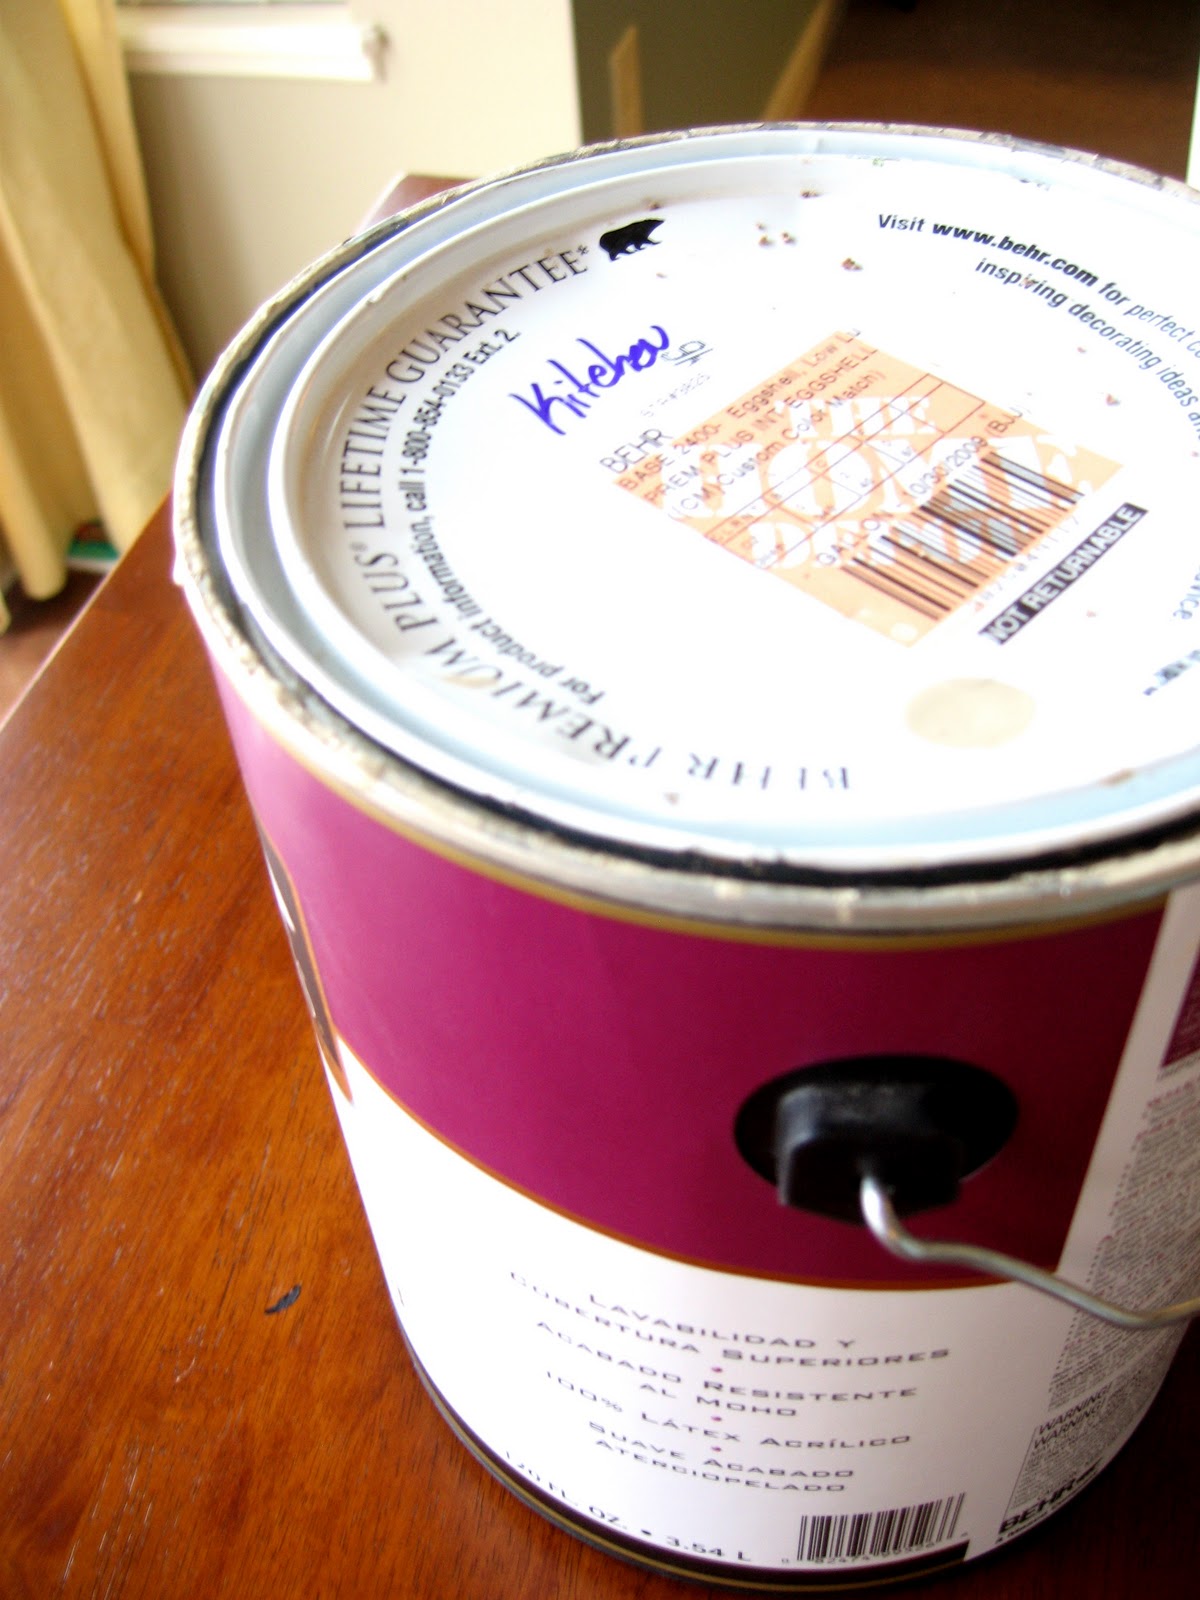
Once that tediousness was taken care of I went back to tackle project #3 and start painting. I decided on a lovely, fresh shade of green from the Martha Stewart line of paint and got to work. *side note: I would not recommend using this brand of paint, it may be low in VOCs, but it is high in extra hours of labor and took me 3 coats for even coverage.* And that Martha, is NOT "a good thing"

It took me 3 days of painting during naps to finish up this spontaneous little project but I am really happy with the way it turned out. No longer will those clashing colors keep me awake at night. Here is the new office color.


And that is what always happens when you give this mouse a cookie. And the moral of the story is:  You can take the girl out of the Johnson family but you can never take the Johnson out of the girl.

Monday, December 13, 2010

And breathe....

If you know me at all, you know that I am a teensy-weensy bit of an organizational freak. I take great pleasure in making things look neat and tidy. When my house looks like a tornado hit and we are tripping over piles of messes here and disasters there, you will find me in the pantry lining up the cereal boxes or alphabatizing my spices. I would rather organize my extra stash of toilet paper into a grand paper pyramid than mindlessly pick up stuff laying on the floor. My label maker and I are pretty tight if you know what I mean.

Our house has a lot of great features that I love, but big closets isn't one of them. We have to utilize every last inch of space to make things fit and to achieve that neat and tidy look that helps me sleep easy at night. Our downstairs coat closet is a prime example. Let me just tell you how much I do not love digging through  piles of hats and gloves and scarves to bundle up myself and the kids every time we leave the house. Although my baskets are pretty and are appropriately labled "adult gear" and "kid gear," it still has been driving me nuts. Last week during a play-date at my friend Brittan's house, she showed me her newly and fabulously organized coat closes thanks to an idea she had read in a magazine. It was a total "Ah-Ha!" moment for me. So brilliant, and yet so simple. Just purchase a basic over-the-door shoe organizer and you will never have to dig for those gloves, that clutch, that umbrella, or that anything again. Isn't organization just beautiful? Come on, you know you want one...

Sunday, October 31, 2010

The 4 day Deck

Back in April we had a professional deck company come out to draw up a plan and give us an estimate. The price was higher than we were anticipating by about $10,000 or so. On the upside, the deck was guaranteed to be completed in 4 days start to finish. The project was way out of our budget and we decided it would have to wait until next year. But then my wonderful dad and grandpa stepped in and convinced us that the 2 of them and John could build the deck of our dreams themselves and do it for less than half the cost. That was back in May. Well ladies and gentlemen, the deck is FINALLY completed!! These 3 men have been working tirelessly to build and re-build posts, railings, flooring, and stairs to the specificity of the unbelievably uptight City of Westerville building department. They've worked in temperature extremes ranging from 102 to 42 and followed building plans that were, at best, totally unclear and at worst, missing major information altogether. And although we are still pending our final city inspection, I have a good feeling we are going to pass this time. The deck looks fabulous and I am so thankful for my dedicated family that helped us make it happen. We will be spending lots and lots of time out there in the years to come.